0800 294 8603




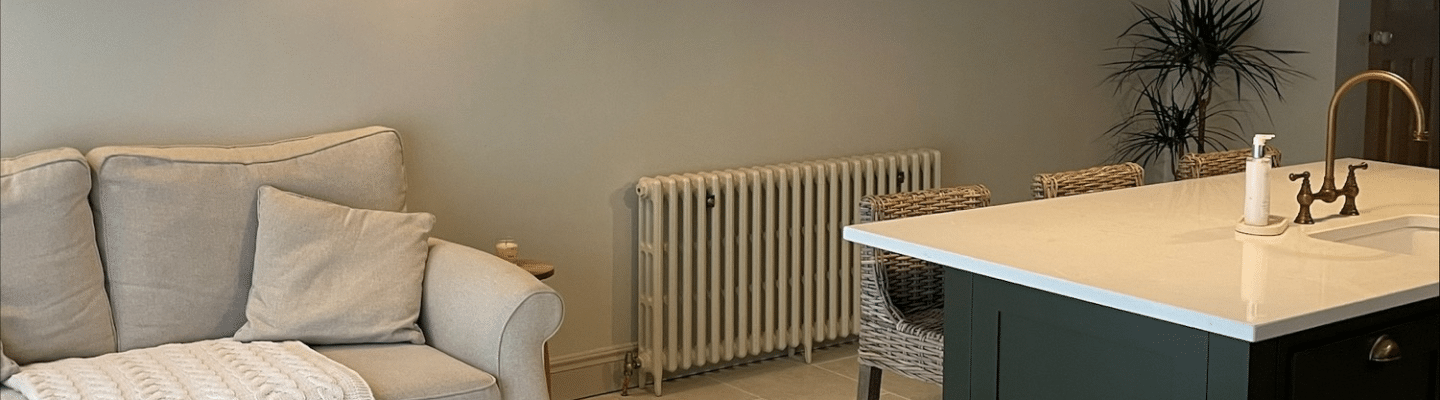
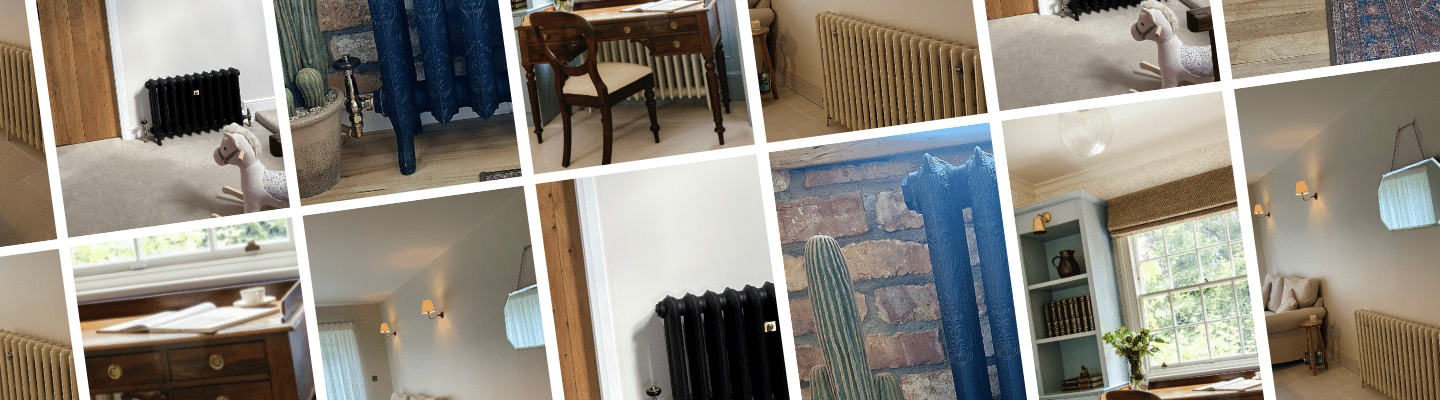
Taking before and after photos of your renovation is a great way to track your progress. This is particularly important if you want to share your story on social media.
If you’re following a lot of interior design accounts already, you might assume that this task is fairly easy. After all, so many accounts make it look so effortless. But getting a photo that really captures the beauty, character and charm of your home takes a little more thought.
If your renovation photos aren’t doing your home justice, these simple tips will help you level up your interior photography skills.
Set the scene
Before you can start snapping photos, you need to dress the scene. Interior photographs generally look better if you pay close attention to things like clutter and personal items. This doesn’t mean you have to strip the space of personality, but there’s a balance to strike when it comes to dressing a room.

Start by snapping a photo of the room without changing a thing. Look at the photo and see which components catch your eye. Perhaps furniture needs to be correctly aligned, there are stray cables cluttering the scene, or your curtains are looking a little uneven. Now you know where to focus your attention.
Find the right light
Natural light will always be easier to work with, so make sure you’re shooting during the day when the light is best in your home. Direct sunlight can look harsh and create shadows, so you want to aim for a soft, diffused light.
Natural light can also be creative. For example, golden hour might cast a beautiful warm light across your room, depending on which way your room is facing.

Rooms with large windows can be beautiful but difficult to shoot, as the bright light will blow out the exposure and cast the rest of the room in shadow. Thankfully, you don’t need a fancy camera to be able to tackle this.
Once you have framed your shot, tap the screen at the brightest point. On the iPhone, this will reveal a sun icon with a slider. Slide down to control the brightness and create more balance.
Top tip: This also works in reverse if you’re trying to shoot a darker space. Sliding up will increase the brightness, so you can make a small and dark space appear much brighter.
Get to grips with the grid
A simple way to elevate your interior photography is by mastering lines. Start by switching on the grid feature in your camera settings. This will allow you to line up dominant vertical and horizontal lines to create better visual balance.
Flip through any interior magazine and one thing you’ll notice is the lines are all perfectly straight and composed. Many achieve this with a tripod, but you don’t need to invest in any fancy equipment when your phone can guide you.
A simple way to ensure your lines are straight is to make sure you’re shooting at chest height or lower, holding the camera straight. For detail shots, raise or lower the height of the camera while keeping it parallel with the floor, rather than tilting the camera up or down from the same height.
Just make sure you aren’t looking down on furniture, as this can have a shrinking effect on your room and make the space look much smaller.
In bathrooms and kitchens, lower the height of your camera to move focus from countertops and sinks and focus on details like tiling and hardware.

Play with angles
When taking photos of your home, it’s helpful to play with scale and angles. You can include some wide shots that take in the whole room, alongside some close up shots of the smaller details.
- Symmetrical shots – Finding natural symmetry in the space can create a very compelling photo.
- Corner shots – Shooting from the corner of a room can help you to show how spaces connect and work together. You might not have symmetry, but you can still keep architectural lines vertical.
- Door-way peep shots – Using the doorway to frame your photo is a great way to capture scale and depth. In period properties, your woodwork is likely to be a key feature, which can provide the ideal frame.

Capturing cast iron radiators
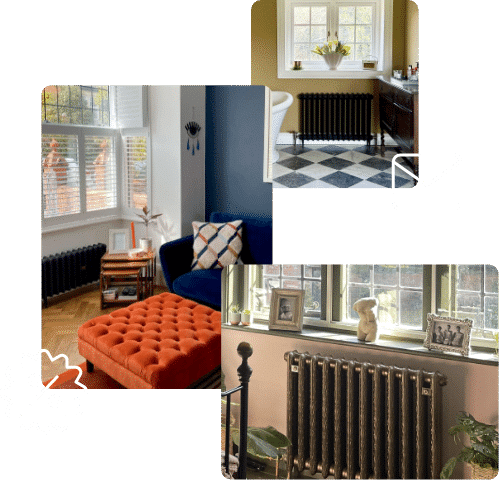
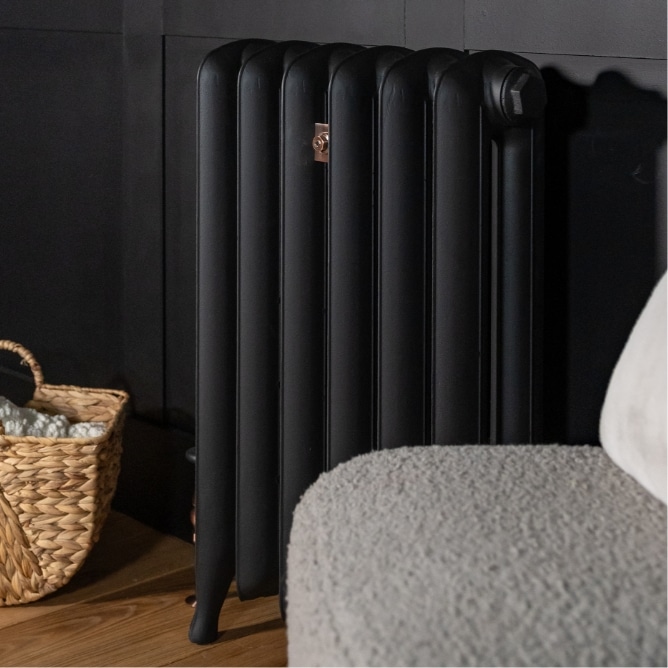
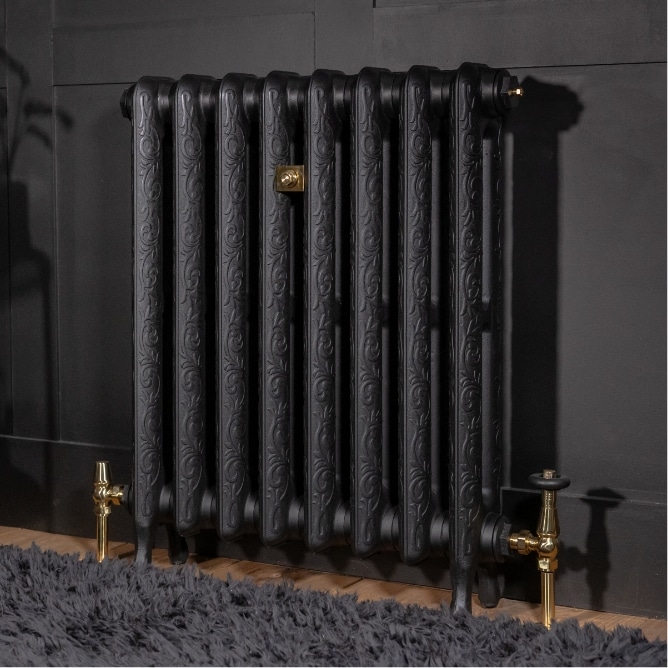
We know that capturing photos of cast iron radiators can be a challenge. The most popular radiator colour is black, which already makes for a unique challenge. And since customers will commonly place their radiator underneath a window, this can lead to further difficulties in balancing the bright light and the dark radiator.
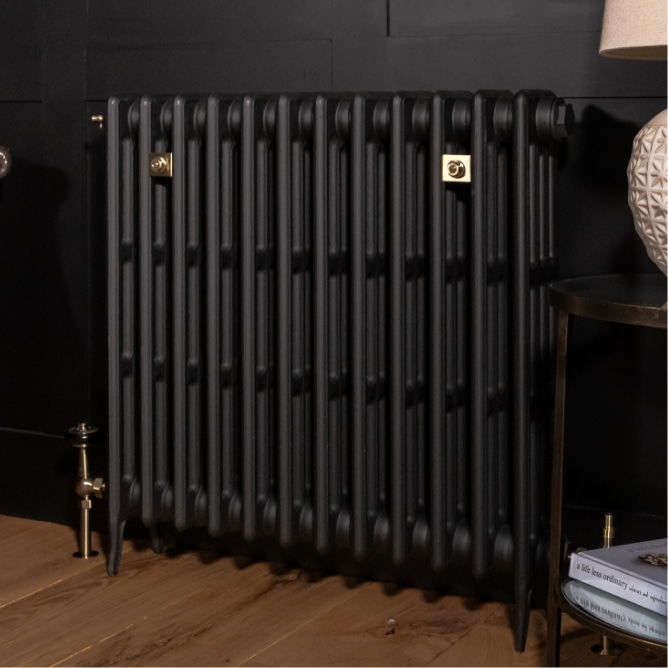
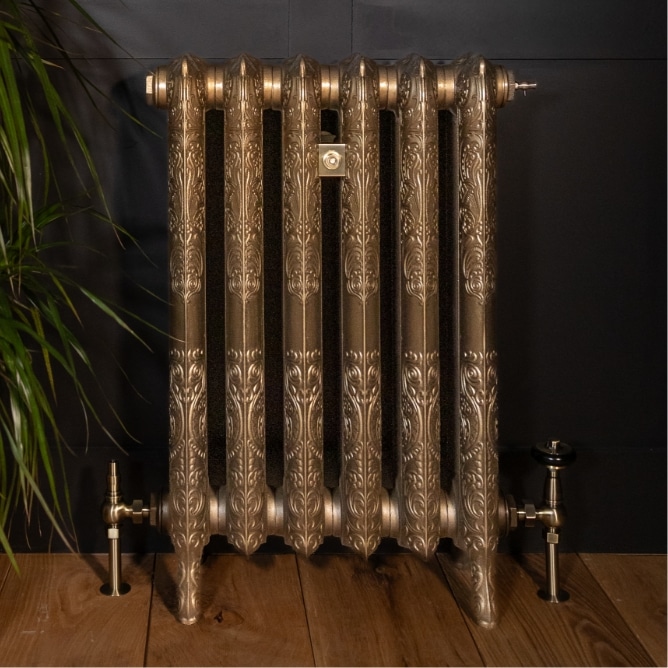
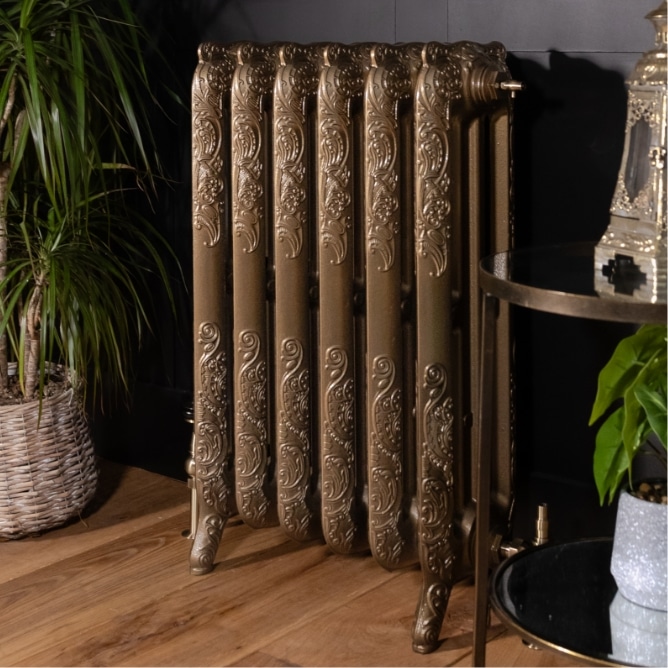
We recommend making the most of the exposure settings to find a balance between a bright window and a dark radiator. You can also switch to close-up shots to capture the beauty of the radiators.

Casting marks and vintage style valves also make for a beautiful close up shot, and shooting at an angle can help to reveal the columns and the depth of the radiator.
Advice from the professionals
We recently caught up with Hertfordshire-based interiors photographer Lee Charlton and asked him to share some of his tips for capturing a home in the midst of a renovation. He offered the following advice:
“My main tip is to shoot from roughly chest height and keep the phone upright rather than tilting it forwards or backwards.
On an iPhone, switch on Grid and Level under Settings > Camera, then use the guides to keep door frames, walls and other vertical lines straight.
I’d also use the standard 1x lens wherever space allows. The 0.5x ultra-wide lens might fit more into the frame, but it can stretch the room and distort objects near the edges.
And finally, for renovation before-and-after photos, consistency is just as important. Stand in the same position, hold the phone at the same height and use the same lens for both shots. That makes the transformation much clearer.”
Enter our current #MyRadRocks competition
Now that you’ve mastered the art of interior photography, you can put your newfound skills to work in our competition. The competition closes on the 30th September.
Simply snap a photo of your cast iron radiator and share it on Instagram with the hashtag #MyRadRocks, or upload it via the online entry form.
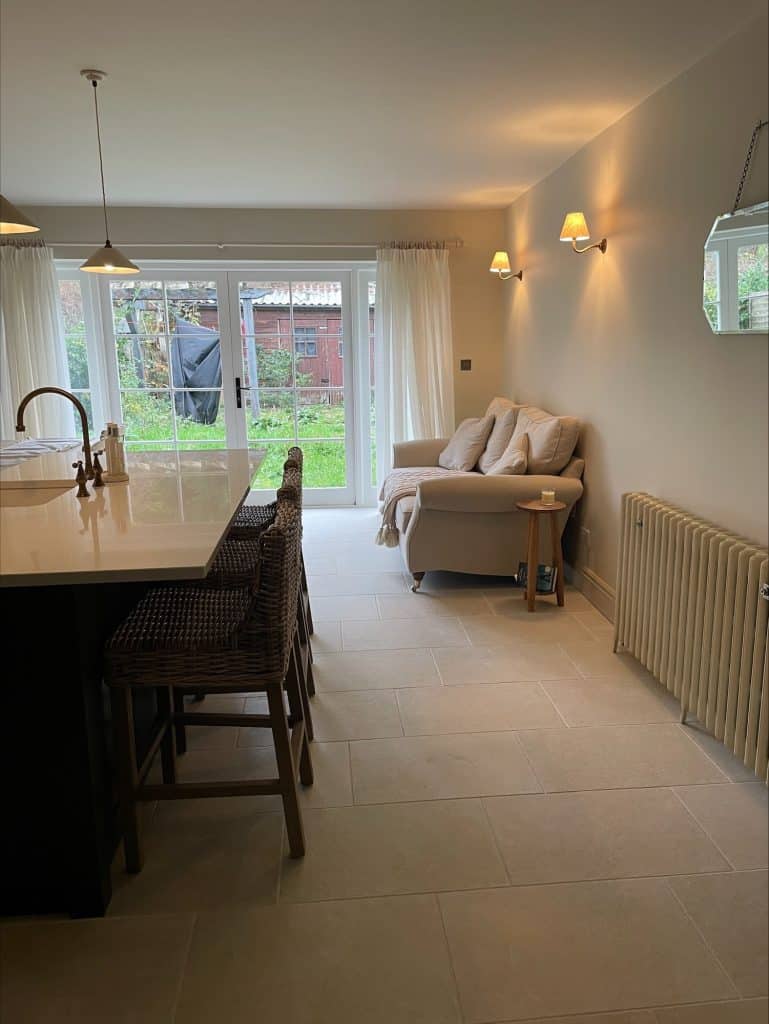
One lucky winner will receive a £500 voucher towards their next radiator purchase and a showcase feature on the blog. You can catch up with our last winner in her home showcase interview.