
Cast Iron Radiator Fitting Guidelines
Fitting your Cast Iron Radiator
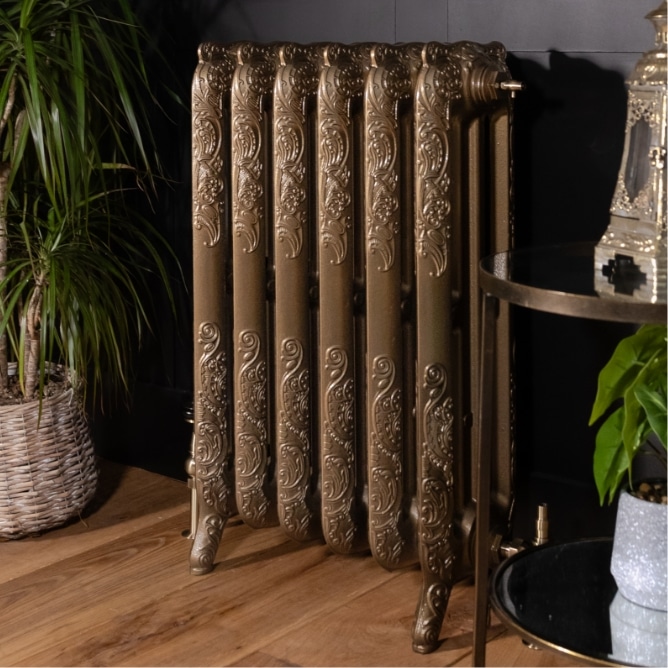
1. Before You Start
Cast iron radiators are heavy and require some care when moving and installing. Here’s what to keep in mind before you begin.
-
Always carry with two people — never drag or push
-
Lift from the centre, not the legs or sections
-
Install after flooring and plastering is complete
Tip: Lay protective material on floors to avoid scratches or damage during fitting.
2. Fixing your radiator
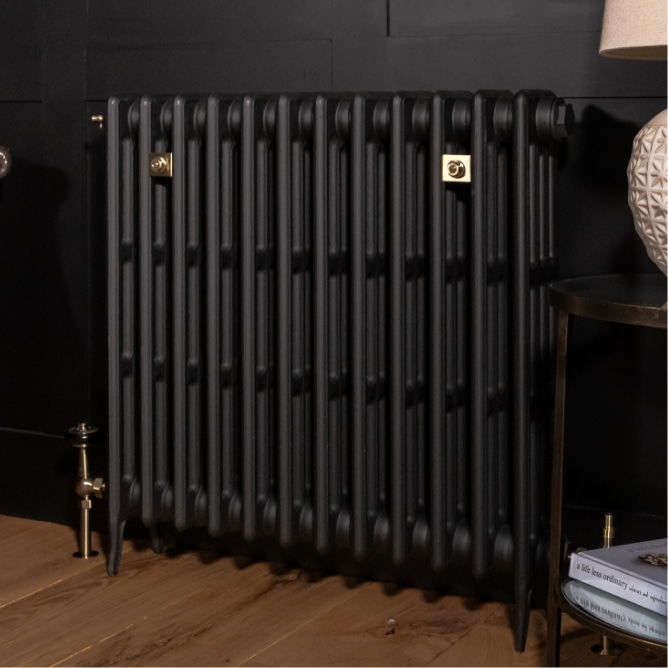
We always recommend that you fit your radiator to the wall with a wall stay, as they will help stop the radiator moving and disrupting the pipe work into your valves which may then subsequently leak.
As a general rule we suggest 1 stay for cast iron radiators up to 10 sections long and 2 stays for cast iron radiators 11 – 23 sections long.
Fixing your Radiators
- Mark and drill fixing points before placing the radiator
-
Feet must be level and on an even surface to avoid strain on joints
-
Check wall stay bracket type suits your wall material
-
Use appropriate fixings (e.g. heavy-duty plugs for masonry)
3. Connecting Your Valves
-
Ensure all joints are clean and free from paint or debris
-
Use PTFE tape on threaded connections (especially valve tails)
-
Avoid over-tightening — cast iron can crack if excessive force is used
4. Bleeding & Pressure Testing
Once installed and connected:
-
Open valves slowly
-
Bleed radiator using a bleed key at the top
-
Check all joints and connections for leaks
-
Test at working pressure for at least 30 minutes
5. Final Checks & Safety Notes
-
Ensure radiators are securely fixed and don’t rock or tip
-
Don’t hang or lean on them
-
Leave clearance for air circulation and future maintenance
📞 Need Advice? If your installer needs technical specs or you’re unsure about anything, we’re happy to help.
Installation & Maintenance Guidelines
System Inhibitor: Why It’s Essential
To protect your heating system from corrosion and sludge build-up, the correct system inhibitor must be added:
-
Always use an appropriate dosing tool.
-
After dosing, test the water to ensure the inhibitor level matches your system’s total water volume.
-
Record the inhibitor dosage and test results for future reference.
When to Re-Dose Your System
-
Every time the system is drained (for repairs, decorating, alterations etc.), system inhibitor must be added again to the correct dosage level.
-
For systems following BS 7593:2019:
-
Inhibitor levels should be checked annually as part of your boiler service.
-
After 5 years, either re-dose or have a laboratory test carried out.
-
Failure to do so will invalidate your warranty.
-
Pressurised vs Vented Systems
Sealed/Pressurised Systems
-
Once the correct level of inhibitor is added, it remains active for its full lifespan (as stated by the manufacturer), unless the system is drained.
Vented/Open Systems
-
Inhibitor levels must be checked regularly as evaporation may affect concentration over time.
-
Failure to maintain correct levels may invalidate your warranty.
Professional Installation Recommended
-
We strongly recommend that all cast iron radiators are installed and maintained by trained and qualified professionals.
-
Incorrect installation or maintenance can lead to damage or loss of warranty.
Fitting Radiator Valves & Bush Ends
-
Bush ends and caps are only hand-tightened at dispatch to allow repositioning for gravity-fed systems — they must be properly tightened during installation.
-
Over-tightening valve tails into the radiator bush is a common cause of leaks. This can cause the bush to crack.
How to Tighten Correctly:
-
Screw the valve tail in finger tight.
-
Use a 4” spanner to turn until moderate resistance is felt.
-
Do not over-tighten — a larger spanner (e.g. 8”) can apply too much torque.
✅ Use LSX sealant (available from most plumbers’ merchants) or PTFE tape on:
Valve tail threads
Radiator end caps
Air vents and bleed valves
Avoid Using Harsh Chemicals
-
Do not use caustic, corrosive, or acidic plumbing compounds or cleaning fluids.
-
Avoid aggressive flushing agents or water softeners — these can damage the gasket seals and will invalidate your warranty.
-
Do not use:
-
Ethylene glycol
-
Propylene glycol
-
Electrical heating elements with our radiators
-
System Cleaning & Flushing
Before commissioning the system:
-
Flush the system using clean water to remove debris, flux and residues
-
Test the water and neutralise any compounds used, as necessary.
-
For flushing, we recommend Fernox F3, followed by appropriate system inhibitor.
-
After treatment, the water pH should be between 6.5 and 8.5.
System design, flushing, and dosing must comply with:
BS 5449:1990
BS EN 12828:2003
BS 7593:2019
Final Inhibitor Checklist
-
Always use inhibitor suitable for your system’s metals and volume.
-
Dosing tools must ensure the minimum required levels are met.
-
Follow the manufacturer’s instructions for the inhibitor you use.
Warranty Warning
Failure to follow the guidelines above will invalidate your warranty.
Guarantees & Condition of Sale
Our Cast Iron Radiators are guaranteed for a period of 10 years, Valves for 2 years and all other products (excluding reclaimed products or where specified) for 1 year from the date of the Purchaser’s invoice to be free from any manufacturing defects. The Company will replace any goods found faulty due to manufacturing or workmanship defects, free of charge within this period, subject to the following exceptions:
- If the defect arises as a result of wilful damage, negligence, misuse, abnormal working conditions, failure due to incorrect installation or failure to follow our instructions.
- If the buyer alters or repairs such products without our written consent.
- If the buyer has not paid the Contract price for the Products by the payment date.
- If the radiator in question has been supplied in parts to be fully assembled on site by the customer or their plumber.
Defective goods will be repaired or replaced subject to the following conditions:
- The Buyer provides proof of original purchase and written notice of the defect immediately;
- The company reserves the right to change only the defective part or section of a sectional radiator;
- Consequential loss – the company is not liable to any consequential loss caused directly or indirectly by any defect in its goods including any costs of labour incurred by the Purchaser;
- The benefit of this warranty is given to the first retailer purchaser of the goods and is not assignable.


